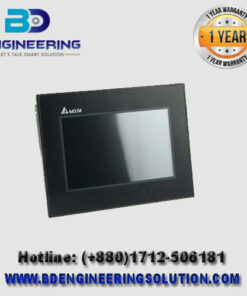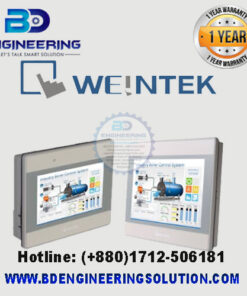
eMT3070B Weintek HMI
The Weintek eMT3070B is a 7-inch graphic touch screen HMI (Human-Machine Interface) known for its smart features and ease of use. Below is a comprehensive guide to help you with the installation and programming of the eMT3070B.
Installation
- Unpacking and Inspection:
- Carefully unbox the HMI and inspect it for any physical damage.
- Ensure you have all necessary accessories like mounting brackets and screws.
- Mounting:
- Cut a hole in the panel where the HMI will be installed. Refer to the manual for the specific cutout dimensions (usually around 192 mm x 138 mm).
- Insert the HMI into the cutout from the front side of the panel.
- Use the mounting brackets and screws to secure the HMI to the panel.
- Power Connection:
- Connect the power supply to the HMI. The eMT3070B typically requires a 24V DC power source.
- Double-check the polarity and ensure secure connections to prevent short circuits.
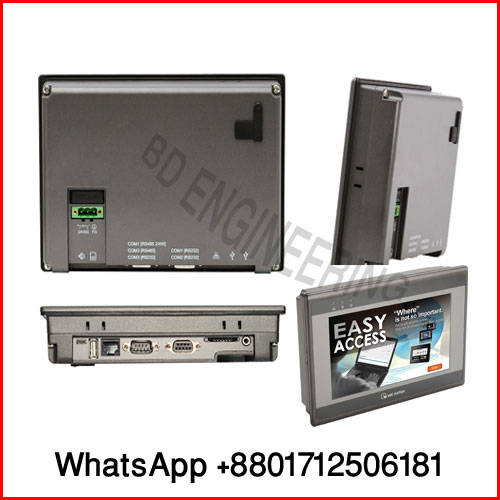
- Communication Connection:
- Connect the HMI to your PLC or other control devices. The eMT3070B supports RS232, RS485, and Ethernet connections.
- Ensure proper connection and termination to avoid communication issues.
Programming
- Download and Install EasyBuilder Pro:
- Visit the Weintek official website or your distributor’s site to download the EasyBuilder Pro software.
- Install the software on your computer following the on-screen instructions.
- Creating a New Project:
- Launch EasyBuilder Pro.
- Click on “New Project” and select the eMT3070B model.
- Set the screen resolution (800×480 pixels) and other initial settings as required.
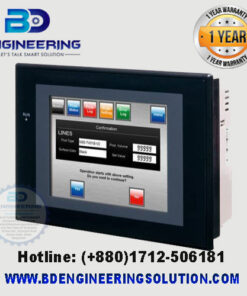
- Designing the Interface:
- Use the toolbox to add elements like buttons, switches, indicators, and text fields to your screen.
- Customize each element’s properties, such as size, color, and position.
- Setting Up Communication:
- Go to the “Device/PLC” settings to configure the communication parameters.
- Select the appropriate communication protocol and configure the settings to match your PLC or control device.